
Customer Center
Customer Center
Sending Rewards using Zapier and Quick Send
This guide will show you how to send a reward with Promotion Vault using Zapier.
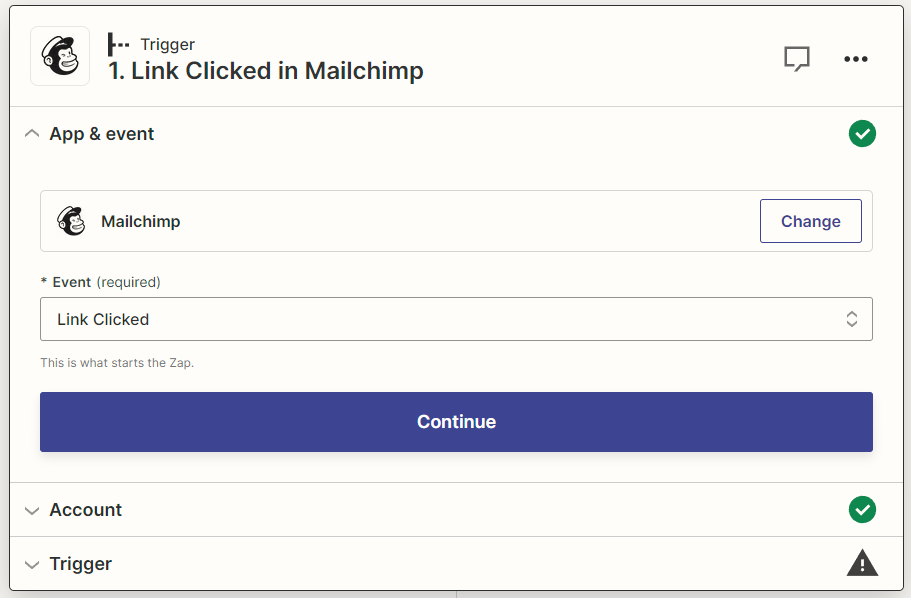
Step 1: Create a New Zap
- Log in to your Zapier account and click on the “Create Zap” button.
- Choose the app you want to use as the trigger. This could be an email marketing tool, a CRM system, an e-commerce platform, or any other app that supports Zapier integrations.
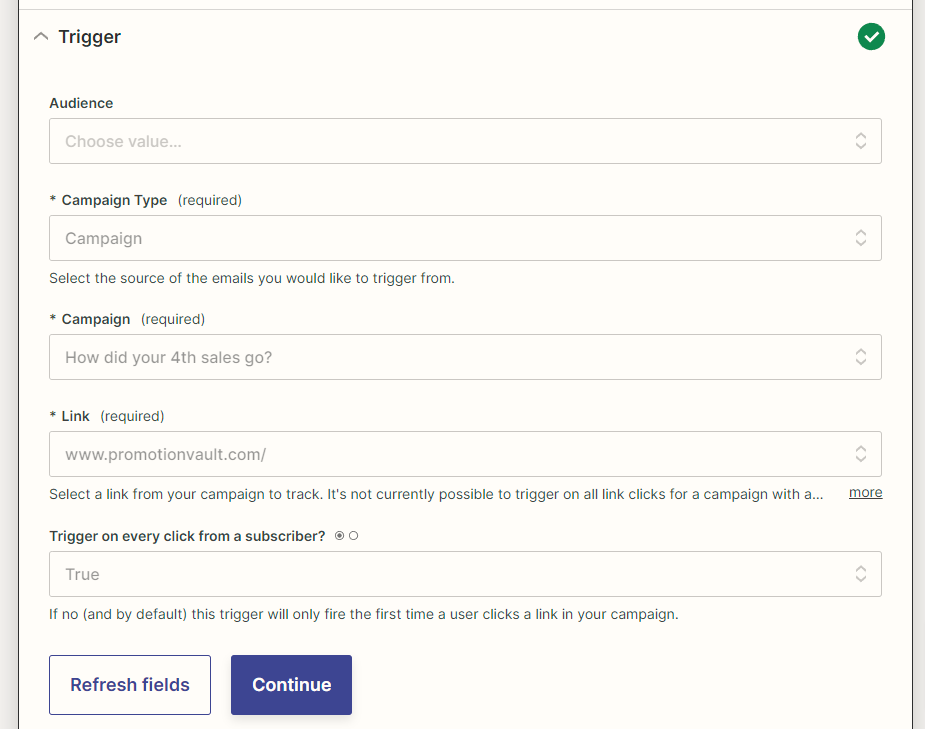
- Configure the trigger based on the specific app you selected. This will involve authorizing your account and selecting the event that will trigger the Zap.
- For this example, we’ll use Mailchimp. You can use any app you want.
Note: Promotion Vault requires an email address to send a reward, so your Trigger app should produce records with an email address.
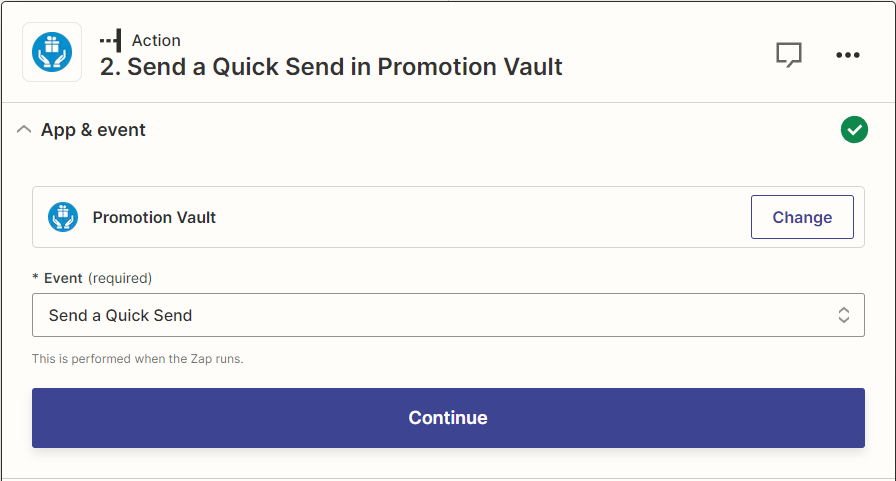
Step 2: Set Up the Action with Quick Send
- Search for Promotion Vault to use as the Action step of your Zap.
- Select “Send a Quick Send“.
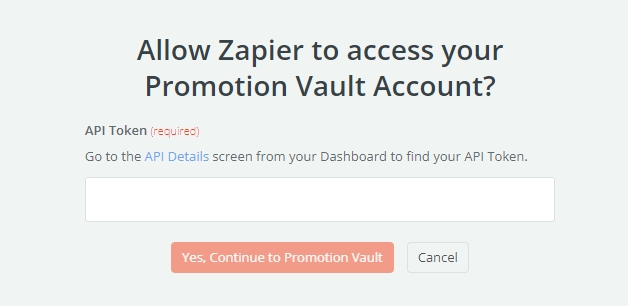
- Connect your Promotion Vault account by entering your Promotion Vault API token during the authentication process.
Step 3: Customize Reward Settings
- Input the Reward Value and Email Address of the reward recipient.
- Select your Team.
- Enter a name for the recipient if you want.
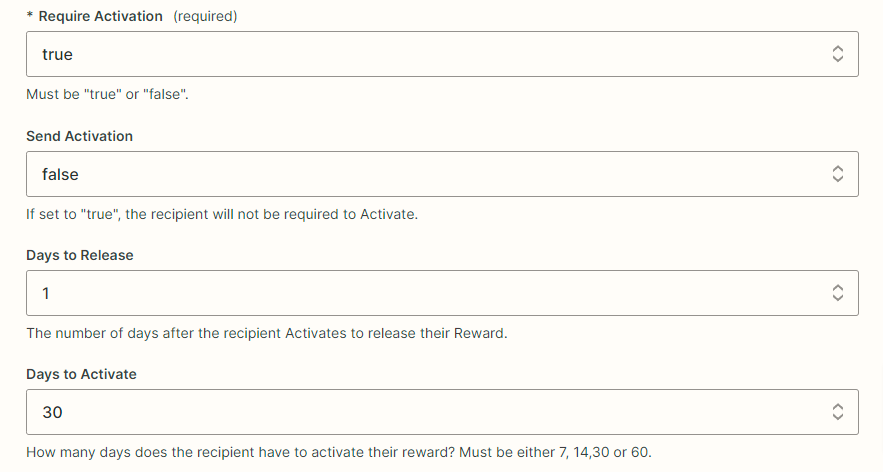
- Require Activation, Send Activation, Days to Release, and Days to Activate have default settings, so you can leave these be unless you want something different.
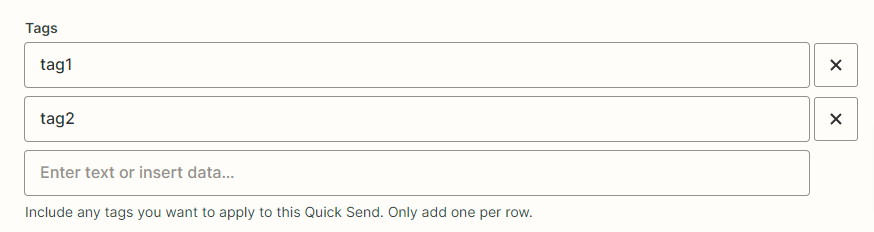
When inputting tags, you’ll only put one in at a time, like the screenshot below.
Step 4: Test and Enable Your Zap
- Once you’ve mapped all of the data fields, Zapier will prompt you to test your Zap.
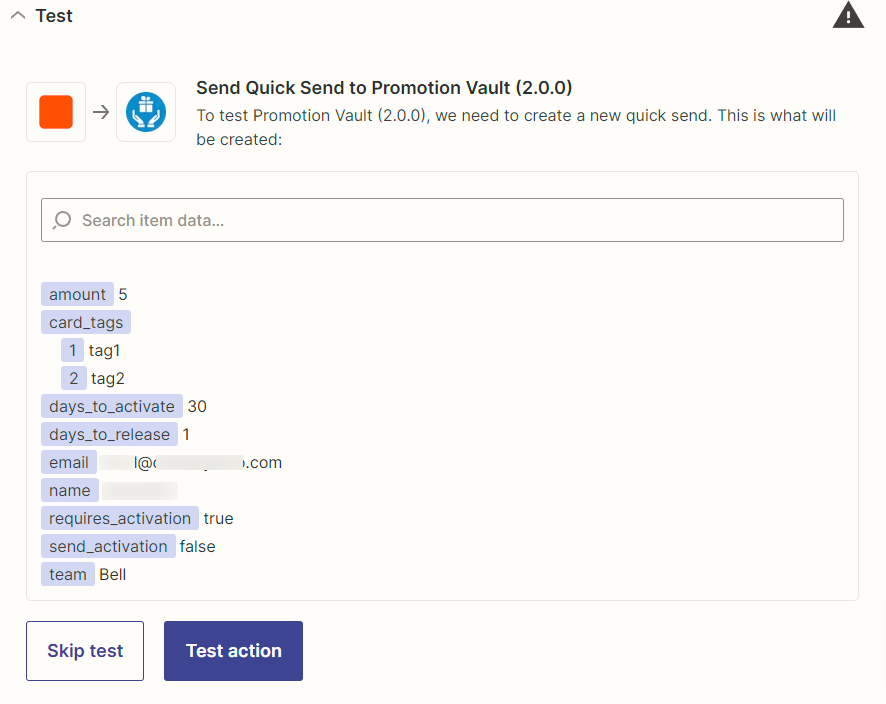
- Push “Test Action” to test the Zap. If successful, you’ll get a success message.
- Verify that the reward is sent successfully in your Promotion Vault dashboard.
- If the test is successful, enable your Zap to start automatically sending rewards using the chosen trigger app.